How to Become an Astro Photographer?
A niche area in photography is Astrophotography. It is photography related to astronomy, or in short, shooting the night sky and celestial objects. With the right equipment, you can shoot not just the moon, but even galaxies and other deep sky objects.
Astrophotography is not so difficult. All you need to do is know how to do it. With some practice, you can become a top-notch astrophotographer. This guide tells you all about how to take photos of celestial bodies.
The Equipment
Without a doubt, it is the camera that is vital for you to become an astrophotographer. With today’s mobiles, you can easily get a close-up shot of the moon. But, if you want to take professional photographs then you need professional equipment. A DSLR camera or a mirrorless camera is essential.
You will need both medium and wide-field lenses for taking photos. A star tracker mount is a very useful accessory. It will help you move your camera in sync with the star movement to prevent blurred photos. You need a telescope if you want to take deep space photography. You should be able to fix the telescope to the camera.
A tripod is another vital piece of equipment. When you have a tripod and a release shutter button, you can completely prevent camera shake while taking photos. Once the photos are taken, you will need to edit them. A good quality image processing software would be required.
Types of Astrophotography
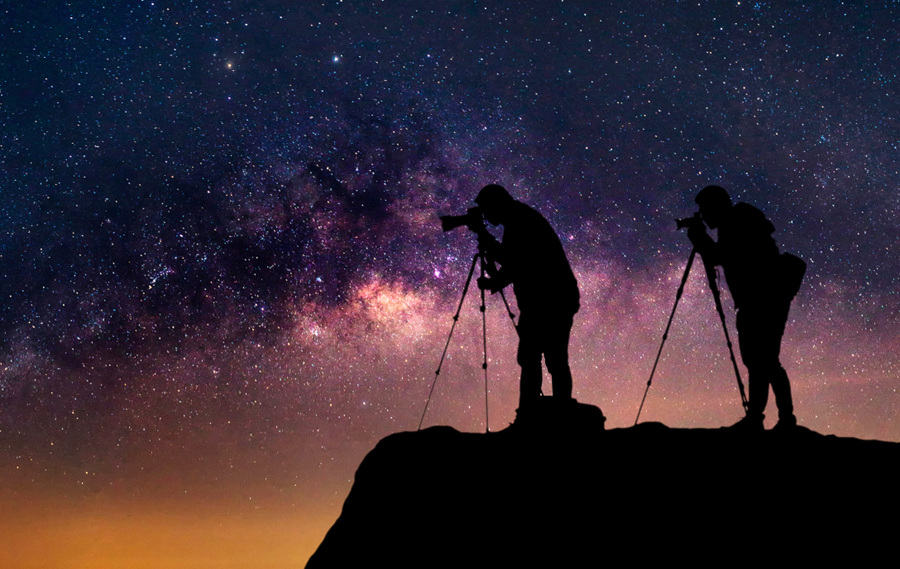
- Wide-angle astrophotography: You can use this to take photos of the Milky Way galaxy and even Andromeda. Shooting star trails and meteor showers is also easy. You only need a DSLR, a zoom lens, and a tripod for this.
- Planetary astrophotography: Here, you will be taking photos of the sun and the planets of the solar system.
- Deep-sky astrophotography: You need to photograph celestial bodies in the deep sky. You can photograph nebulae and galaxies far away. For deep-sky photography, you need a professional and advanced Telescope to see the sky better, which you can find online easily.
Astrophotography Tips
1) Choose the right spot
You will need a clear sky to get the best shot. The location should be dark, so it is better to avoid shooting from the city. When you shoot in the city, pollution can prevent you from getting a good view. Choose a location on the outskirts easily accessible where you can set up your equipment. It is a good idea to be part of an astronomy club so you can get to know the best locations.
2) Do homework before shooting
Do some homework before you start shooting. Check out the weather, so you can shoot when the sky is clear. Shooting on a full moon will help you get optimum light, but shooting far-off objects can be tough. When you shoot on a crescent moon night, you can get to see deep-sky objects better.
3) Know your settings
Professional photography is all about using the manual mode and making settings yourself. You need to adjust the camera shutter speed and ISO to get the best quality images. f/2.8 if you are using a wide-angle lens and f/4.5, if you are using a zoom lens, is optimal. ISO 800 is ideal for astrophotography.
The shutter speed can start at 30 seconds. For brighter objects, you need a tiny aperture. For dimmer objects, a wide aperture is needed. Always shoot in RAW mode, so post-processing becomes easier. Noise reduction can be switched on, so image quality is better.
4) Take the shot
Now that you are ready with your equipment, it is time to start shooting. Ensure all the accessories are fixed to the camera and it is in position. You can consider using a sky tracker app, so you know where to shoot. While composing the shoot, keep the rule of thirds in mind. One-third should be the horizon and two-thirds the sky.
The first time you start shooting, you may not be satisfied with the results. You need to experiment with your settings until you get the right effect. Take a few test shots and check out how the result is. You should ideally use manual focus and keep the settings to infinity.
Once you have captured a lot of pictures, you can choose the best one to edit. For that, you will need to transfer the pictures to your PC or laptop to do the final touchup. So, if you are using a GoPro camera, you can look for a blog on How to Connect GoPro to Mac or other laptops via Image Capture, SD card, or even a camera brand’s app. You may also have to learn basic editing tools, including Photoshop, Lightroom, etc.
The most important thing to remember is you will not get the perfect shot in a few minutes. You may need to wait many hours. You need to be patient as you wait. Decide in advance what you are shooting and focus on that celestial object.
Share